|
Eric's Tools Of The Trade
On this section of the site, I will be sharing and explaining my techniques. Designing a train layout, for me at least, is a combination of professional tools, improvised tools, learned techniques and a lot of self taught techniques. I don't claim to be any kind of an expert. In fact, the one thing that this page will show is how my techniques change and improve over time. The majority of my techniques are self-taught. My father gave me a few tips here and there, but other than that it's just a matter of trial and error. Anyway, I hope this page comes in useful to someone.
My Tool Box
As my modeling abilities have continued to grow and improve, I've come to rely upon a fine set of useful tools. Some are power tools, some conventional and some are homemade. Here's my ever-growing list, in no particular order...
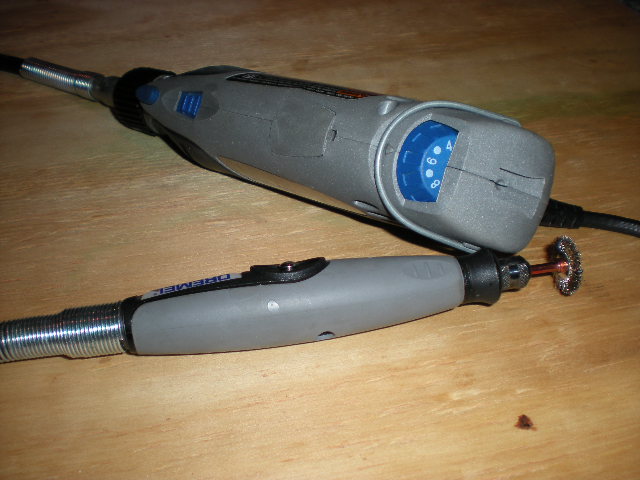 |
The Dremel Tool - A must have. The Dremel Tool is one of those tools that you buy and then after about a month of use you ask yourself how the hell you ever lived without the thing. The Dremel Tool is the ultimate all around handy tool for any train enthusiast. Why? Because it pretty much can do anything. I use it constantly to make custom cuts of track using the cutting tool, to file away and sculp plaster forms and even to chop off the occasional stripped screw. What's even more amazing about a Dremel Tool is the price. I got a deluxe corded set with tons of accessories for $99 at Home Depot. |
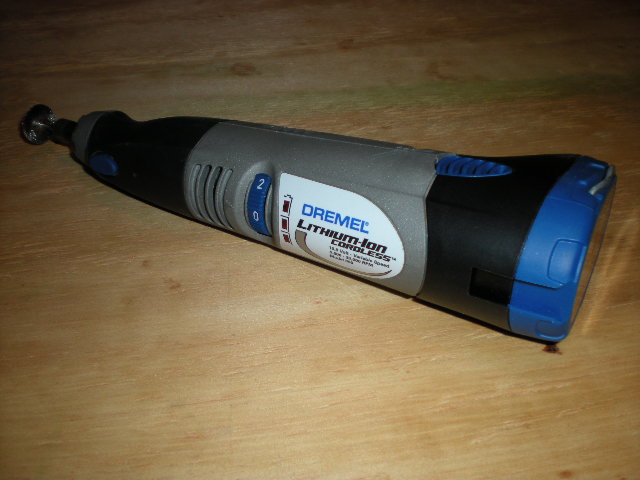 |
Cordless Dremel Tool - The cordless version of the Dremel tool is great for small jobs and getting into places where you don't want to be dragging a cord behind you. The only drawback is that the Cordless is not as powerful as the corded version, so that's why I have both a corded and cordless Dremel tool in my toolbox. |
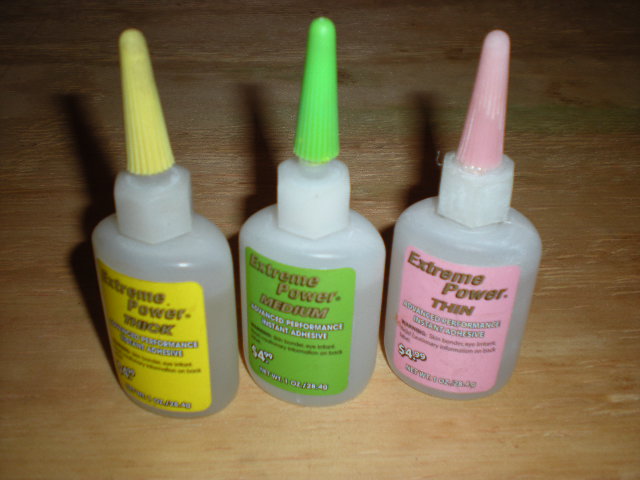 |
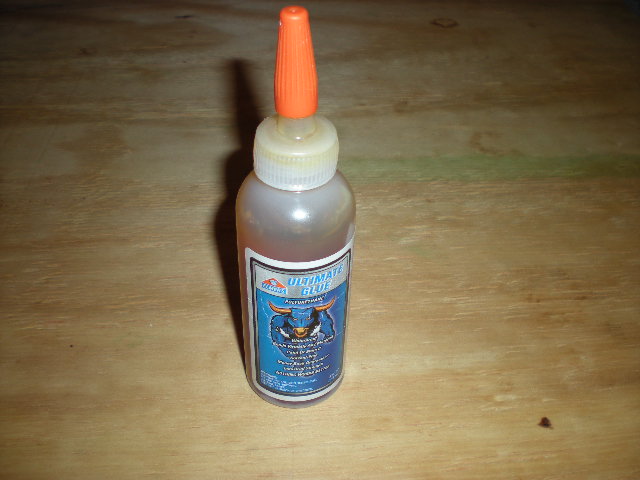
Cyanoacrylate Glue (super-glue) - Cyanoacrylate glue is at the heart of any good modelers toolbox. There's no end to the uses for this stuff. Over the years I have sampled many brands of super-glue. They all pretty much work the same, but I have acutally found the Loctite brand to slightly stronger than the rest. |
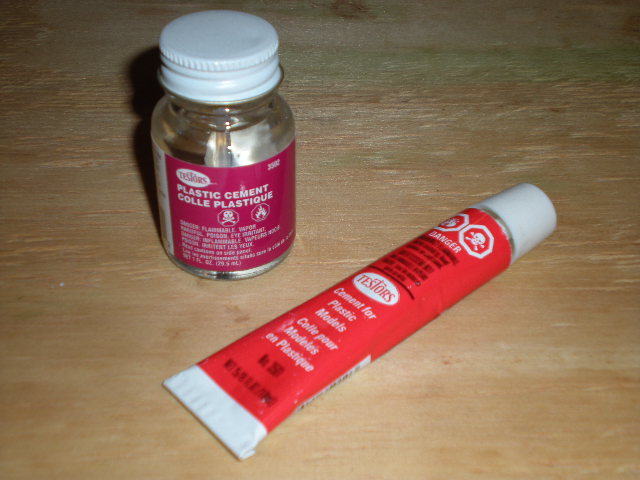 |
Plastic Cement - I use plastic cement when I'm scratch building using styrene plastic. It fuses the plastic together to form a near permanent bond. |
 |
Epoxy Cement |
 |
Polyurethane Glue |
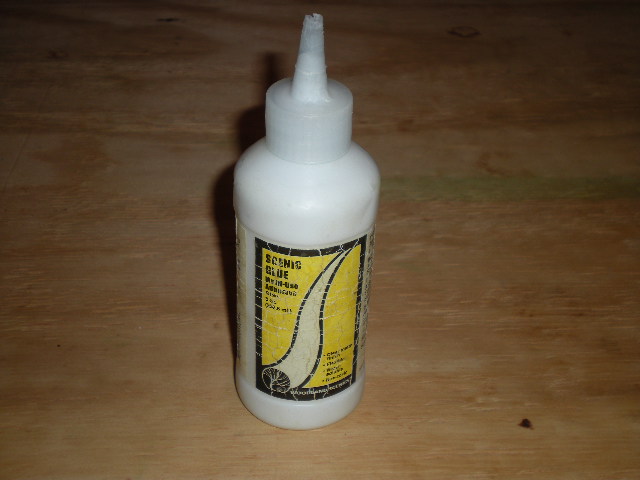 |
White Glue - I buy Elmer's in 1 gallon batches and then distribute it between my glue bottles and sprayers. I once bought a bottle of Woodland Scenics white glue to see if it was better than Elmer's. I think their white glue is basically Elmer's with a different label on it. Anyway, I liked to bottle they use better than the small Elmer's bottles, so I've been putting Elmer's in that nifty bottle ever since. Undiluted Elmer's glue is the default glue for all set applications. I use it for all types of scenery applications. |
| |
Sprayable White Glue |
 |
Precision Screwdrivers - This is an obvious one, but a very important one. You can never have too many screwdrivers and I've built up a solid collection of every shape and size there is. Regular sized screw drivers are always useful, but I also have serveral miniature screwdriver sets, as the small ones are even more usefull for the small screws that are all over a train set. You can find the miniature sets in any hardware store and they usually come with a nice carrying case. For big screw jobs, I use my Milwaukee 18v cordless drill. For smaller screws and more cramped spaces, I found a Black & Decker palm sized power screwdriver that is just great for small jobs. For in-between jobs, I've got DeWalt cordless screwdriver that has an adjustable elbow on it. |
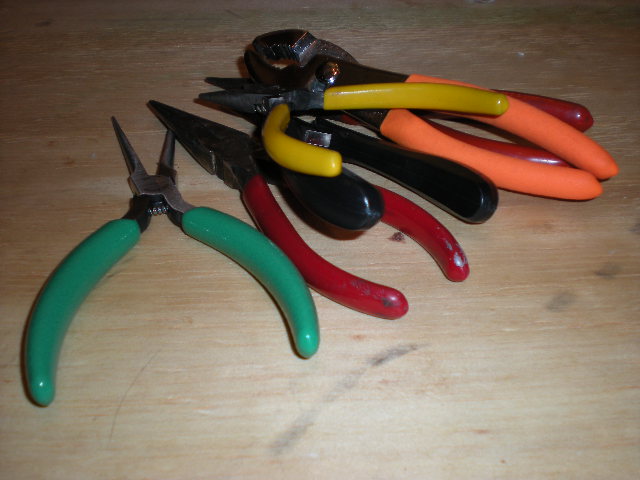 |
Assorted Pliers - Regular pliers, long nose pliers, needle nose pliers, etc., etc., etc. You can never have too many types of pliers. |
| |
Chisels - A good set of chisels comes in handy all the time. Most often, I will use a chisel to strip away old scenery when doing set renovations. However, there are endless uses for a good set of chisels. My first chisel was a Stanley FatMax 2" chisel, and I've since added a 5 piece set that has both small and large chisels. |
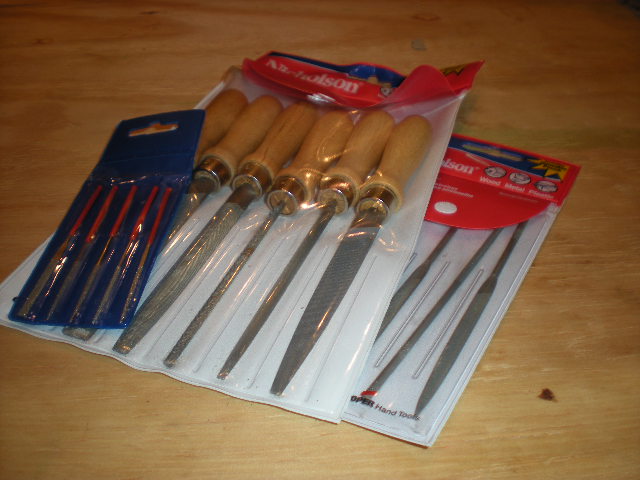 |
Files - Another vital tool, the file comes in amazingly usefull at all times. A good set of files, going from miniature to large will suit you just fine. The small files are so useful in doing precision work on small objects. I bought a set of small hobby files and a slightly larger set of files at Lowe's and I use them all the time. |
|
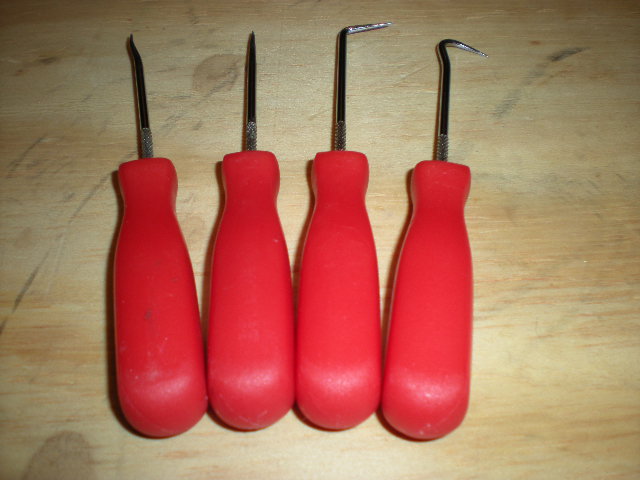
Hook and Pick set - I picked up a 4 piece hook and pick set at Lowe's and I'm so glad that I did. These little hooks and picks come in so handy in so many random siuations. I use them the poke holes for trees to sit in, to pull debris out from under tracks, to clean debris out from engine gears and trucks, to pull wires through holes, to mark positions where screws will go and tons of other odd applications around the set. The hook and pick set is probably one of the most handy tool kits that I have. |
| |
Tweezers- Another item you can never have too manu of. Tweezer of all shapes and sizes come in handy all the time. I use them constantly and couldn't work without them. |
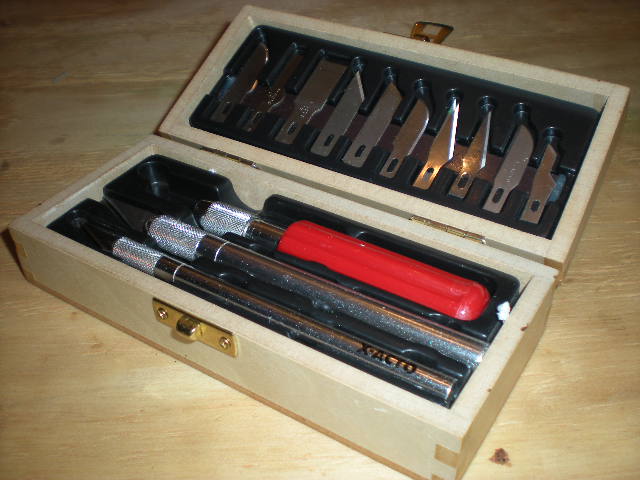 |
X-Acto Knives & Saws |
|
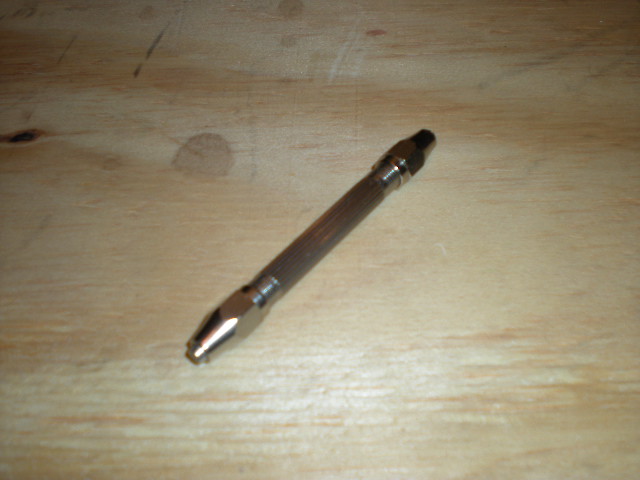
Pin Vise - This a perfect tool for hand drilling into delicate items such as engine shells or train cars. They only cost about $5, so pick one up the next time your at a hobby store. |
|
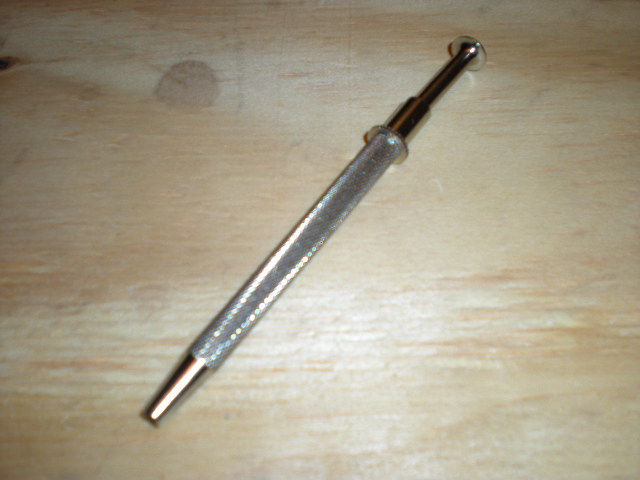
4-Prong Grabber Pickup Tool - I saw one of these on the OGR Backshop DVD where Jim Barrett takes you on a tour of his workbench. This tool is great for picking any number of small parts. It's also great for starting screws in tight places where you fingers can't reach. They run about 5 or 6 dollars, so go ahead and pick one up for yourself if you don't already have one. |
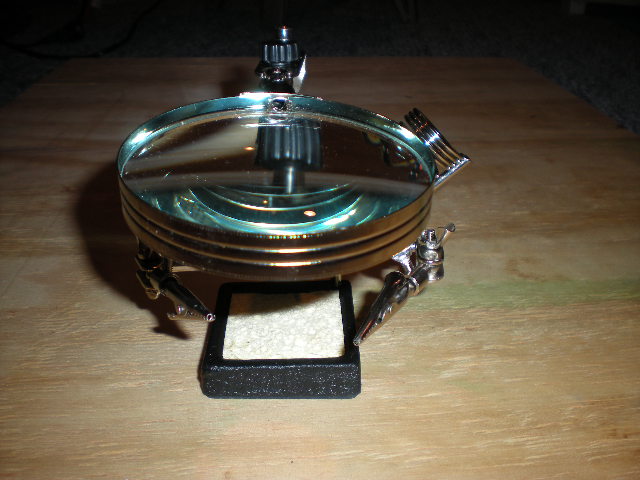 |
Third Hand - This is a great tool to have if you do a lot of soldering. I got this at Radio Shack for $15, and it was well worth it. |
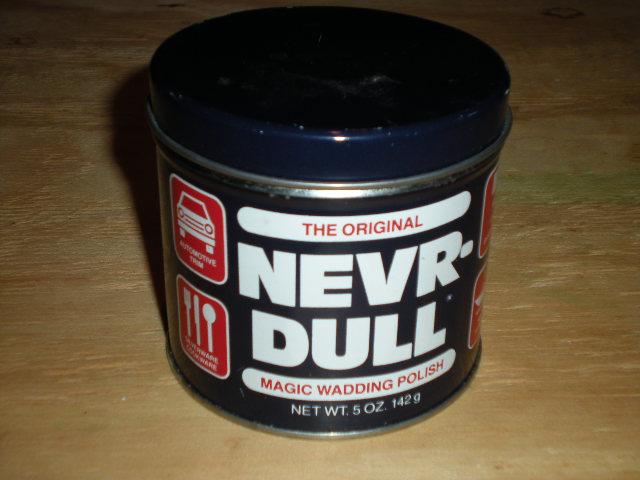 |
Nevr-Dull Wadding Polish - I've been using this stuff since I was a kid to clean metal parts and it's really great stuff. Oddly enough, I don't know anyone else in the hobby who uses it, although I'm sure someone out there probably does. Nevr-Dull is essentially a can full of cotton wadding that has been soaked in some sort of magic cleaning fluid. The fluid sorta has a mineral spirits kind of smell, but not quite (it's smell is so unique that it brings back childhood memories when i smell it). You use it by tearing off a piece of wadding and then using it to clean anything made of metal. It's wonderful for cleaning dirty track as well as cleaning old and dirty electrical contacts. |
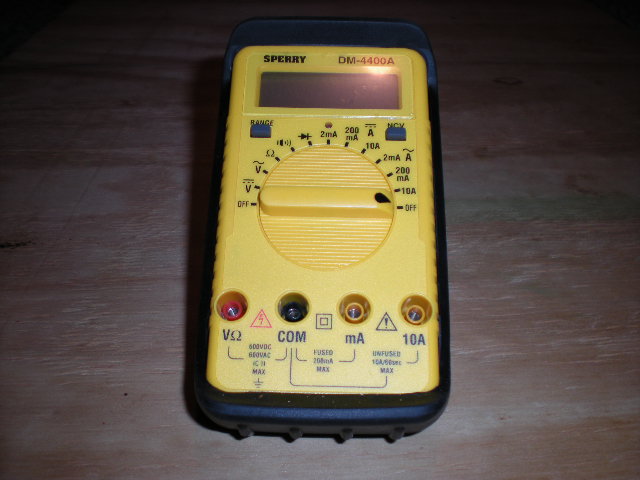 |
Volt-Ohm Meter |
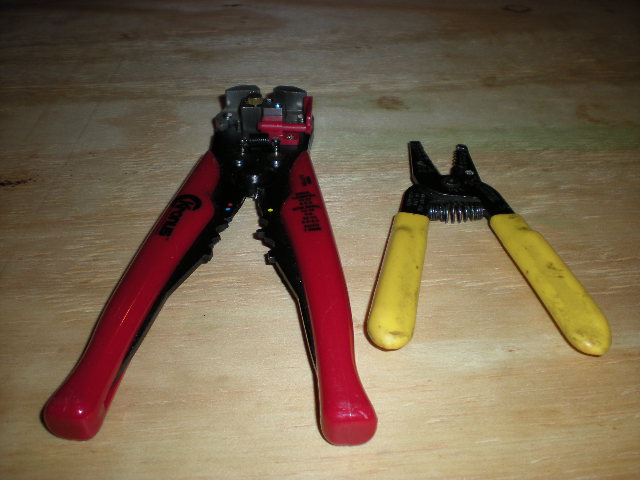 |
Wire Stripping/Cutting/Crimping Tools |
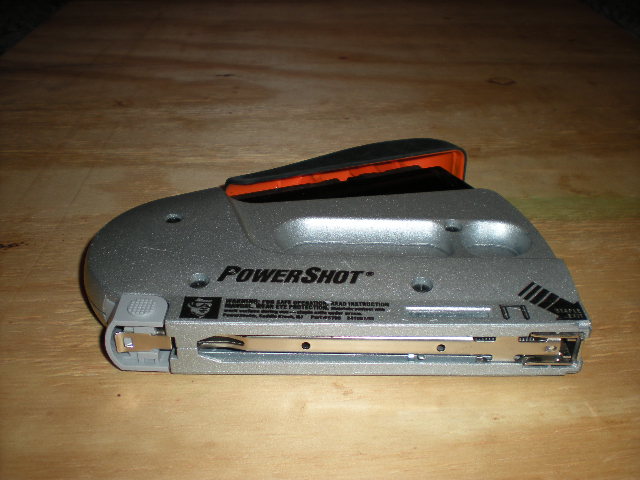 |
Staple Gun - A good staple gun is invaluable for loads of random tasks around the layout. |
|
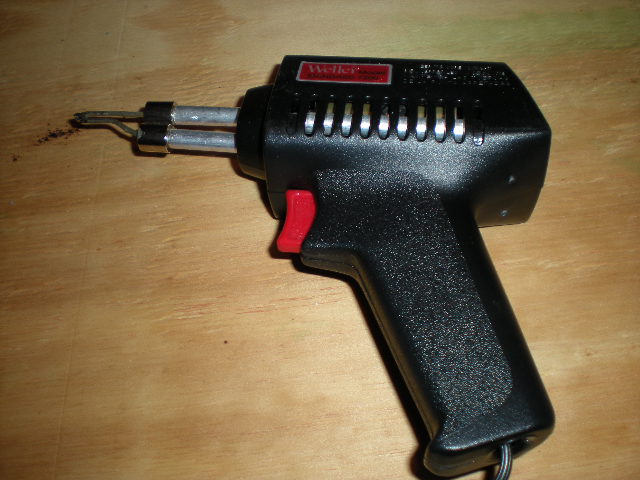
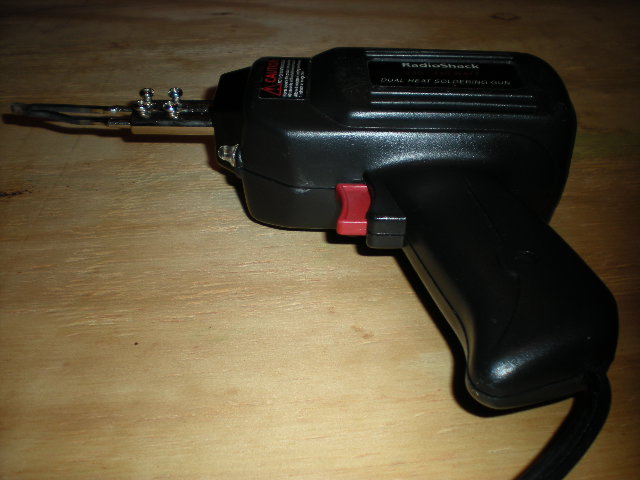
Soldering gun(s) |
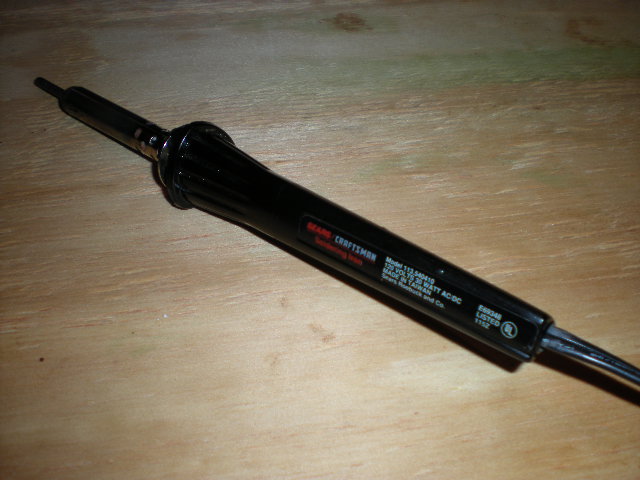 |
Pencil Tip Soldering Iron - A pencil tip soldering iron is good to have when you need to do more precision soldering where a soldering gun would get in the way and be to big and clumsy. You can pick up a very good soldering gun for under $20 from any place that sells electronics tools. This is a Craftsman soldering iron that I got at Sears many years ago. |
 |
Weller PyroPen Jr. - While this is certainly not required, I thought this was tool cool a thing to leave off this page. The Weller Pyro Pen is a butane powered soldering iron and hot air gun. It holds enough butane for 3 hours of use and has a tempurate adjustment knob as well. It's great for getting at places where you don't want to drag a cord behind you. |
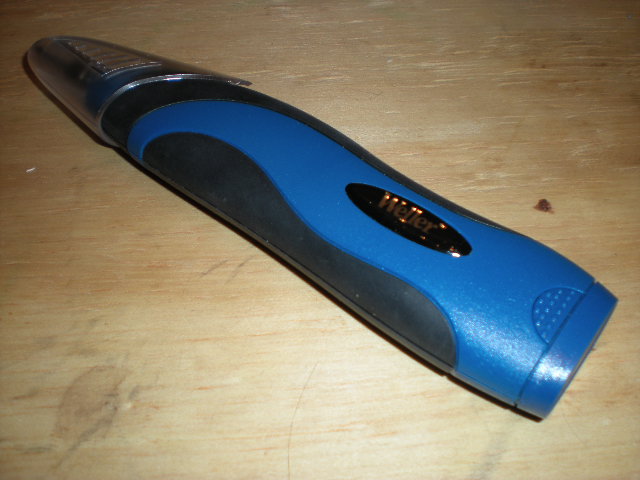 |
Weller Battery Operated Soldering Iron - Again, this is not a requirement, but it's really cool to have. This baby runs on 4 AA batteries and heats up to nearly 1000 degrees in 15 seconds. It's perfect for quick soldering jobs where you don't want to drag a cord behind you. |
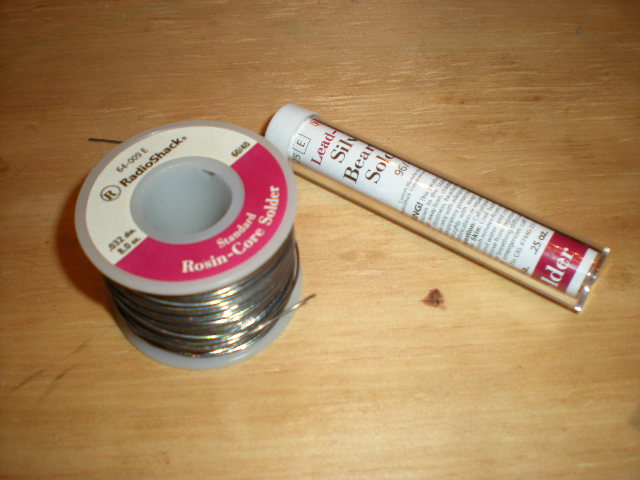 |
Solder - I prefer nice thin solder that will melt quickly. Standard rosin core solder is fine, but lately I've started to use the lead-free silver solder to avoid exposing myself to lead. The lead-free solder works just fine and I've have no problems with it. I usually get my solder at RadioShack. |
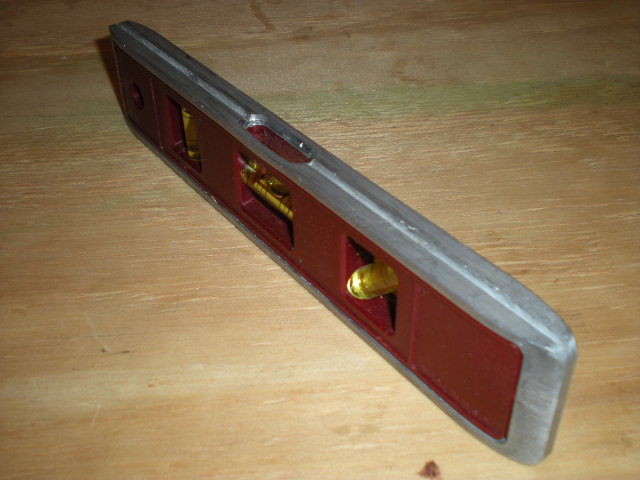 |
Level - While I have many levels of varying sizes, this minature level (which is about 7 inches long) is the one I use most often. It's perfect for little hobby sized jobs around the layout. I picked this up for a few bucks at Home Depot. |
|
Techniques
Ballast
I've created a 3-part tutorial video on how I ballast my track. Check it out here:
http://www.youtube.com/watch?v=rhBhA_4LLg0
Asphault Roads
I tried out the ballast method metioned about for making roads and the results are awesome. What I did was combine Woodland Scenic's Fine Cinder Ballast with a 50/50 mixture of white glue. I just paved the black asphault onto the set and a few hours later it looked really nice. The mixture goes a long way too, so you get quite a bit of road out of a bag of cinder ballast. It also gives the road a realistic "paved" look. This realism is even more evident when you do spot patches to damaged roads.
|